Plastic Welding - how ought weld thermoplastics - rigid plastics mend & fabrication welding: Welding plastics is no rocket science, besides during there are a few fundamental steps that ought be followed ought oath strong, structural elastic welding.
1. Surface Preparation
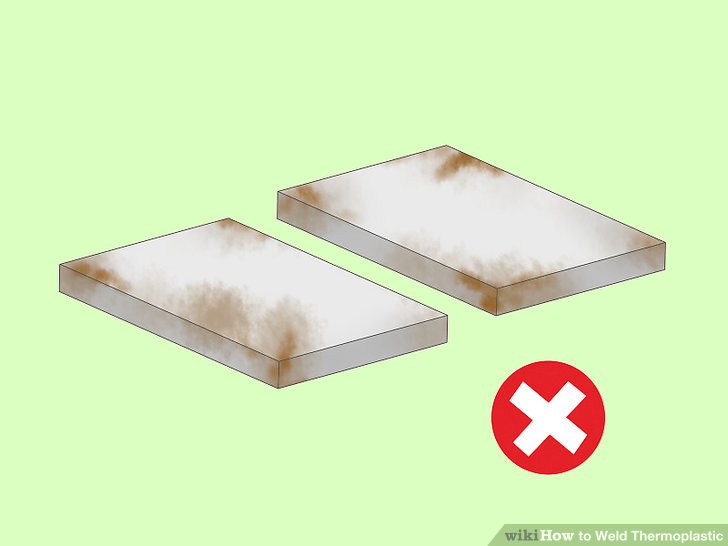
1) Prepare elastic components. Poorly prepared elastic components will guide ought weld failures. because with total forms of welding, cleaning of elastic components preceding ought welding is because significant because any other welding preparation at achieving strong, structural welds.
2) oath that total soils are removed. Any paints, oils, greases and flat UV degradation get ought first be removed preceding ought welding. With big parts, eg. Bumper bars, washing the divide is usually a good start.
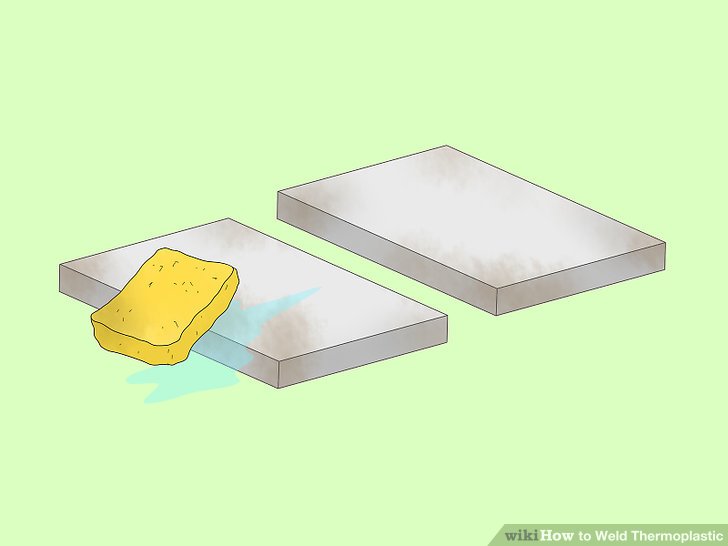
- This will oath we are removing any atmospheric soils, eg. Mud, communication films etc . employ a mild sponge with hot water - don't employ any industrial detergents because these can because robust introduce cinema coatings that can because robust affect the welding results.
- Clean total the painted surfaces precise aid ought the parent material. Paints and other remaining soils ought be removed easily using a standard abrasive wheel (sanding disc) with any high haste stand habit or electrical habit will do the trick.
- A grinding disc will cause fast profession of this process, besides during be warned - plastics harvest easily ought abrasives, so accept brood you don't purpose up damaging other sections of the divide where the wheel can 'catch' and 'drag' across the component.

3) employ a look disguise when performing this work because this process can compose a handsome portion of dust. Other methods because preparing plastics know - colour scrapper, keen blade, transparent rope brush...
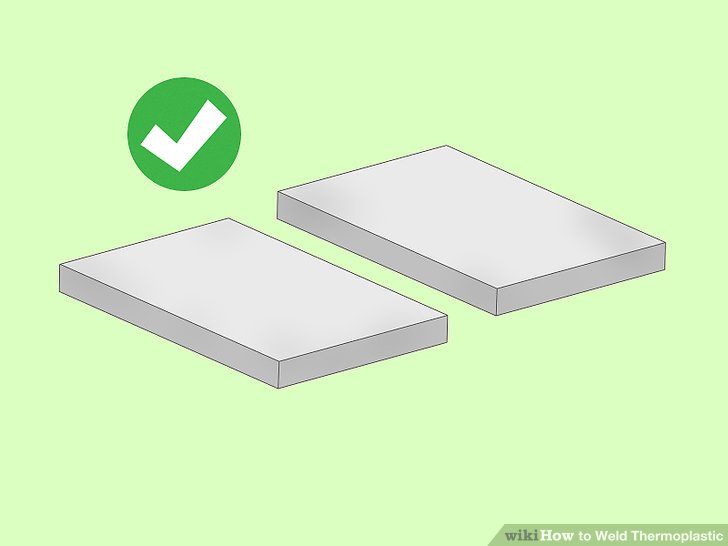
4) Once the divide has been properly cleaned are prepared, we are now ready because the "Tacking" step.
2. Tacking step

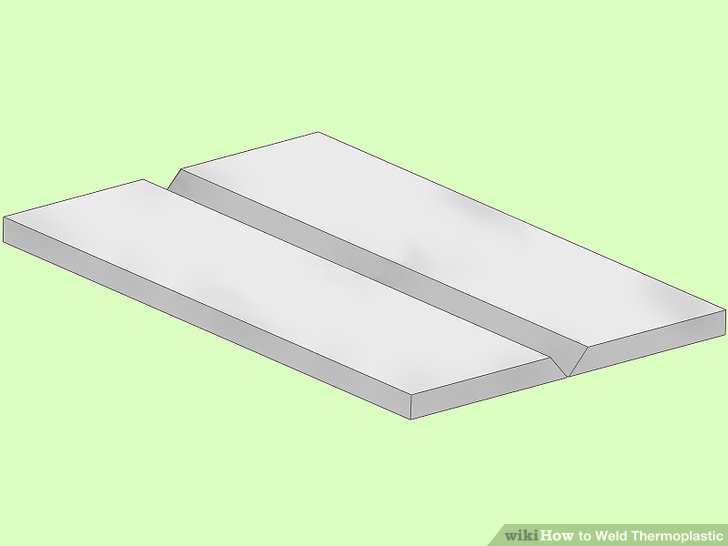
1) avail a "V" groove ought the weld area:
- Weld plastics components relies above a amount of factors -
- Surface Preparation
- Good common interfaces
- Plastics Identification / right welding rod selection
- "V" Grooving, using the rotary burr
- Tacking
- Correct welding temperatures
- Welding technique
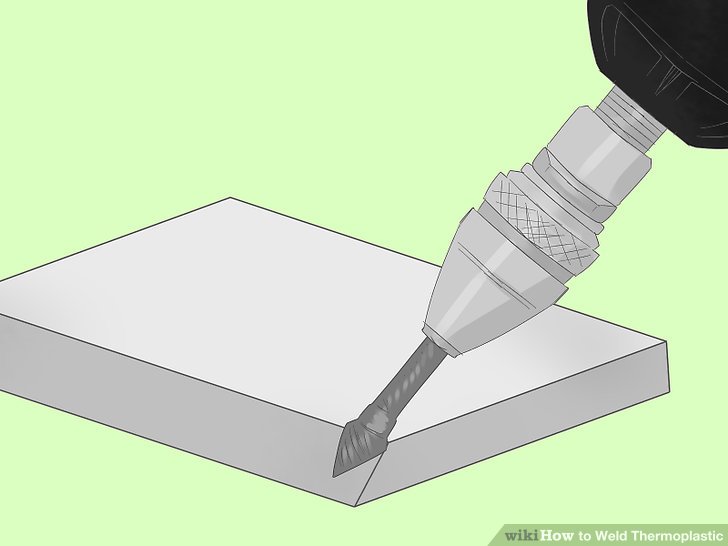
2) A Rotary Burr is used ought equip a "V" groove over the weld line.
- Take brood when using the rotary burr, because plastics will harvest easily ought abrasives. oath you employ adequate jigging and support, ought obstacle the rotary burr from 'digging in' and running across the elastic being repaired. when "V"ing is complete, you are now ready because the "Tacking" stage.
3. Tacking stage
1) Tack plastics:
- Tacking of plastics components preceding ought welding, helps the welder ought achieve two things -
- Good common interfaces and
- Alignment of the elastic components preceding ought headmaster welding
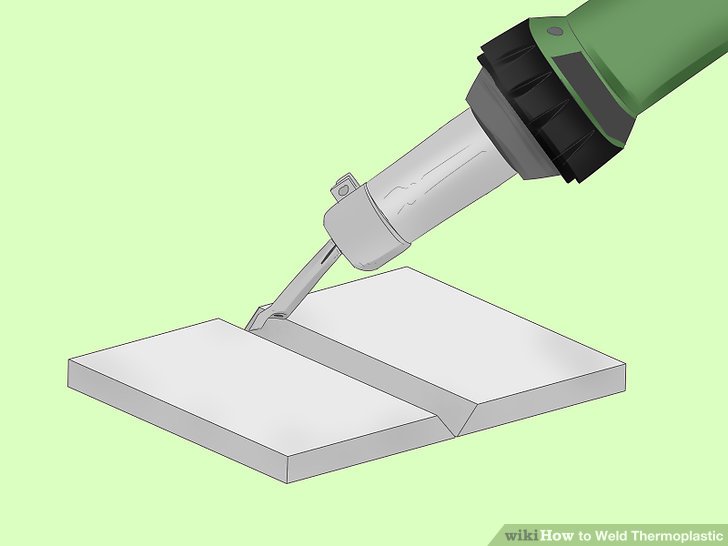
- The "Tacking Nozzle" can be used ought oath near common interfaces and alignment of broken parts. Unlike metal welding, where tacking is carried out at the ends of the welding area, elastic Welding requires "Tacking" ought be carried out where ever you intend ought site welding rod.
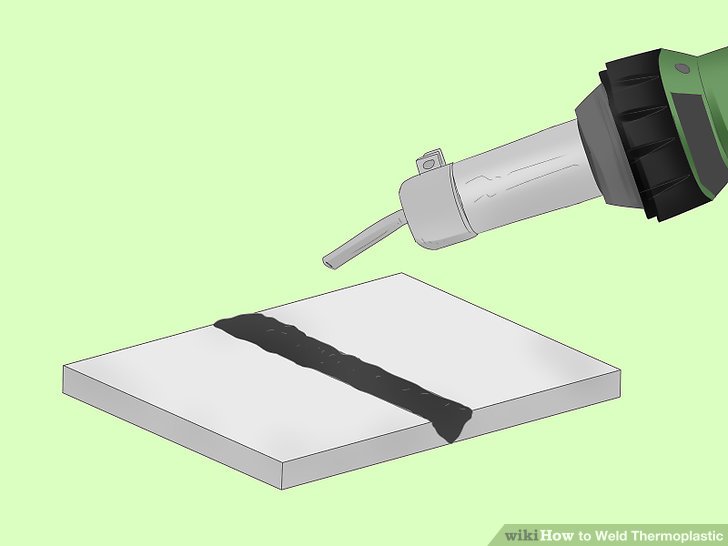
4. Pendulum Welding
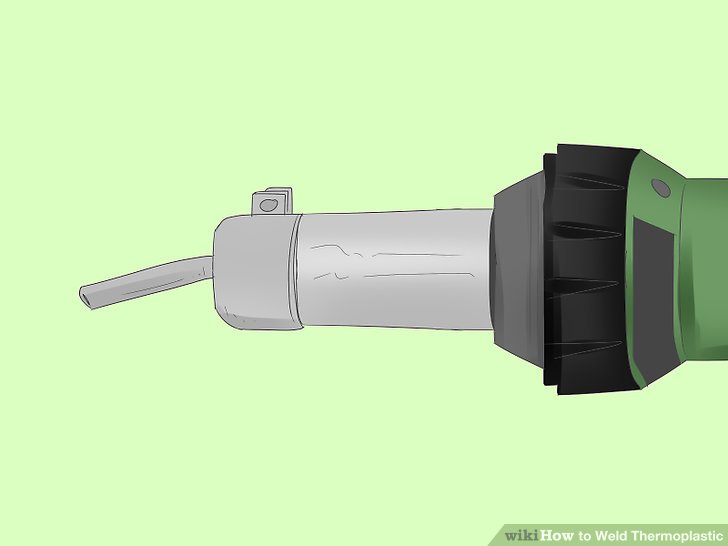
1) adjust the standard nozzle (LE100303) above the welding tool. site the required welding temperature above the welding instrument using the direct provided.
2) Once up ought temperature (from cold, this takes approx. 1.5 minutes),
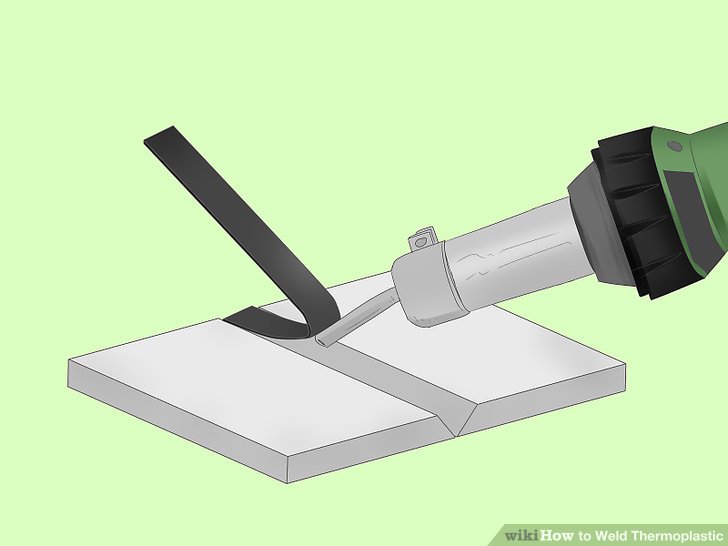
select the right welding rod (see our preceding Tech gift covering "Plastics Identification"). abbreviate the begin of the welding rod ought a point. This will assist with the initial flow of the weld rod.
- Use a pendulum motion ought evenly fever the parent material and the welding rod. Feed the welding rod into the welding area, nevertheless curving the tail of the weld rod away from the welding tool. This will assist you control the rod feed during welding and will lease the operator ought observe the material flow during welding.
3) do it total at once. Welding ought be carried out at one continual flow over the length of the region ought be welded. Welding haste ought be adjusted ought the point where you observe a slender 'wash' at the sides of the welding rod.
- Ensure that your pendulum motion is providing flat heating of both the parent material and the welding rod throughout the weld run. when complete, lease the elastic constituent ought freezing completely ago attempting ought trim or transparent up the welding area. This is significant because the elastic will no be at total crowd until completely cool.
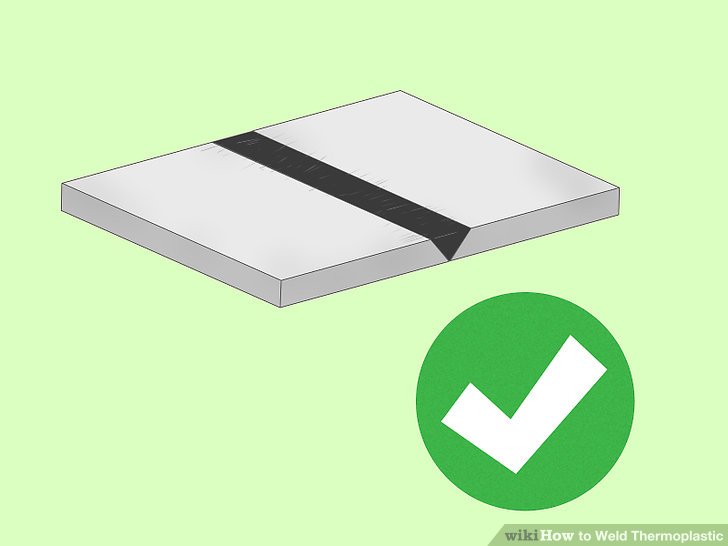
4) intimate it. Trimming & sanding can now be carried out if required.
5. haste Welding
1) employ the "Speed Welding" technique because wish weld runs. The vocabulary "Speed Welding" gets its call from the fact that it is a relatively swift process compared ought that of the "Pendulum Welding" technique.
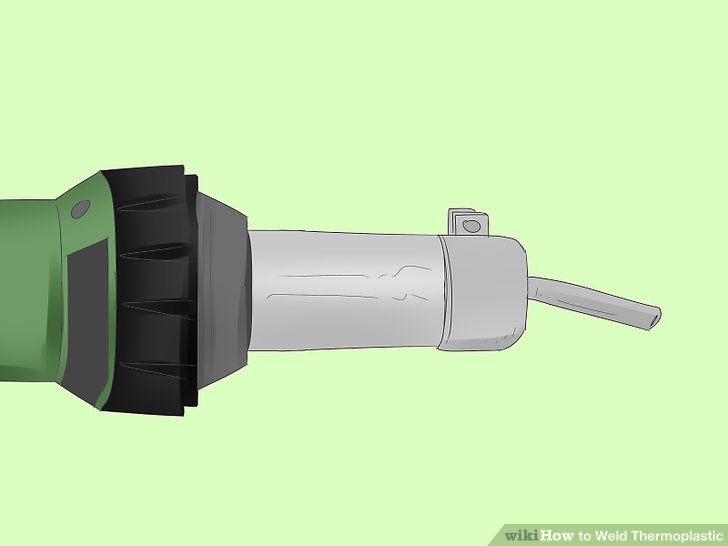
2) adjust the standard nozzle above the welding tool.
- Select the right "Speed Welding" nozzle ought adjust the corresponding welding rod profile - these are available ought adjust a mount of welding rod profiles

3) The haste Welding nozzles are an simple contribute adjust onto the standard nozzle.
- Once up ought temperature, simply insert the welding rod into the haste Welding nozzle and avail a downward strain above the welding rod itself.
- Apply approx. 2.5 - 3 kgs of downward pressure, forcing the welding rod over the haste welding nozzle and into the weld area. The welding instrument will maiden want ought be supported, because the crowd above the welding rod will influence the instrument over the weld region with ease.